Things to know before you join the Dark side
How to properly implement dark mode on your page
Dark mode is all the rage these days. Popular products that we use every day support this feature, and as a software developer who stares at the screen all day, mostly at night, I learn to appreciate anything that eases my eyes even just a little bit.
Therefore, when I started building this personal site, dark mode was naturally one of the first features I implemented. It involved making the background color dark and the text bright, sure, but it went further than that. Let me show you what other things I needed to consider to have dark mode properly implemented.
Implementing a basic color switcher
First thing, let's address the elephant in the room. A color switcher can be easily implemented in a lot of ways, depending on what UI library you are using. You can store the current theme inside a JS state, a CSS class, or a combination of both.
I use Tailwind CSS on my website. By default, any Tailwind class prefixed with dark: will apply based on the prefers-color-scheme media query. In other words, if you have a div like this, its background color will be white when your OS is running in light mode, and black when your OS is running in dark mode.
<div class="bg-white dark:bg-dark" />
If you want to be able to manually switch between light mode and dark mode, update tailwind.config.js to use the class strategy for darkMode. This way, Tailwind will apply classes with the dark: prefix when it detects your <html> tag has a dark class (reference).
// tailwind.config.js

module.exports = {
  darkMode: 'class',
  // ...
};
Then, all you have to do is add or remove the dark class from document.documentElement and Tailwind will do its magic.
document.documentElement.classList.add('dark'); // Enable dark mode
document.documentElement.classList.remove('dark'); // Enable light mode
Synchronizing with OS preference
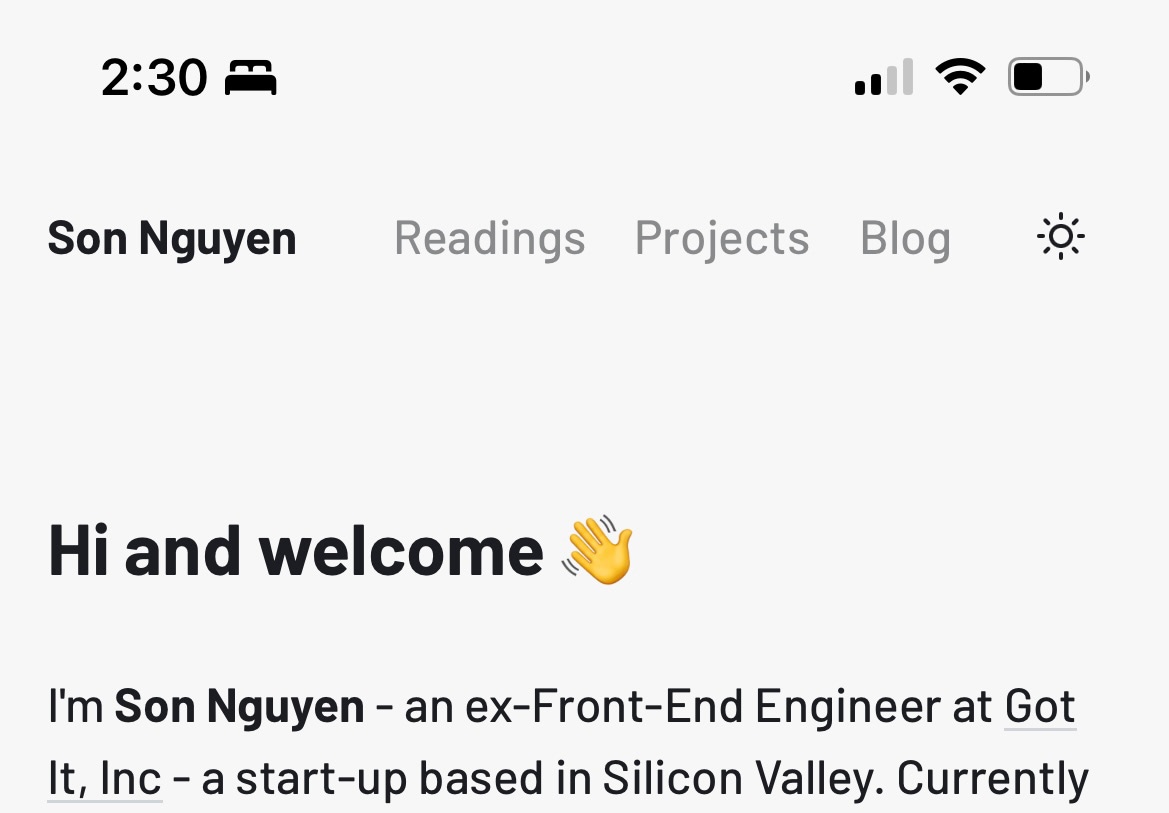
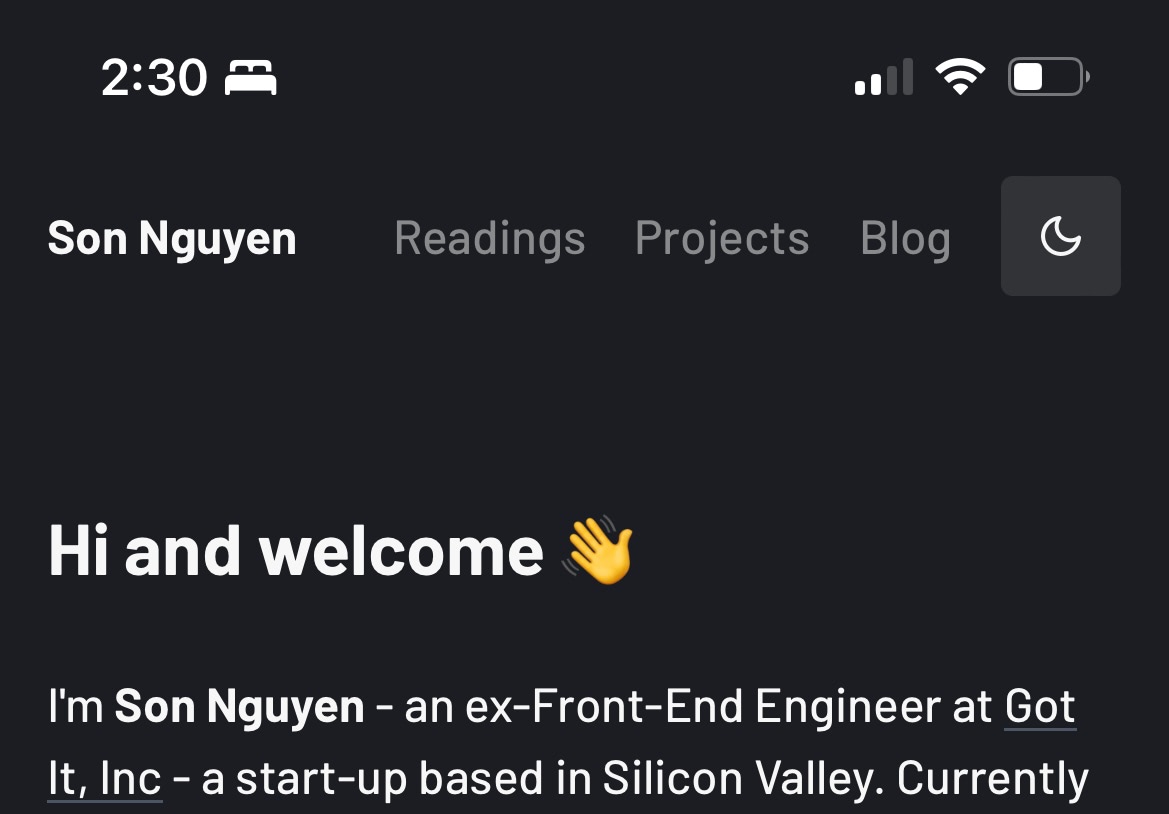
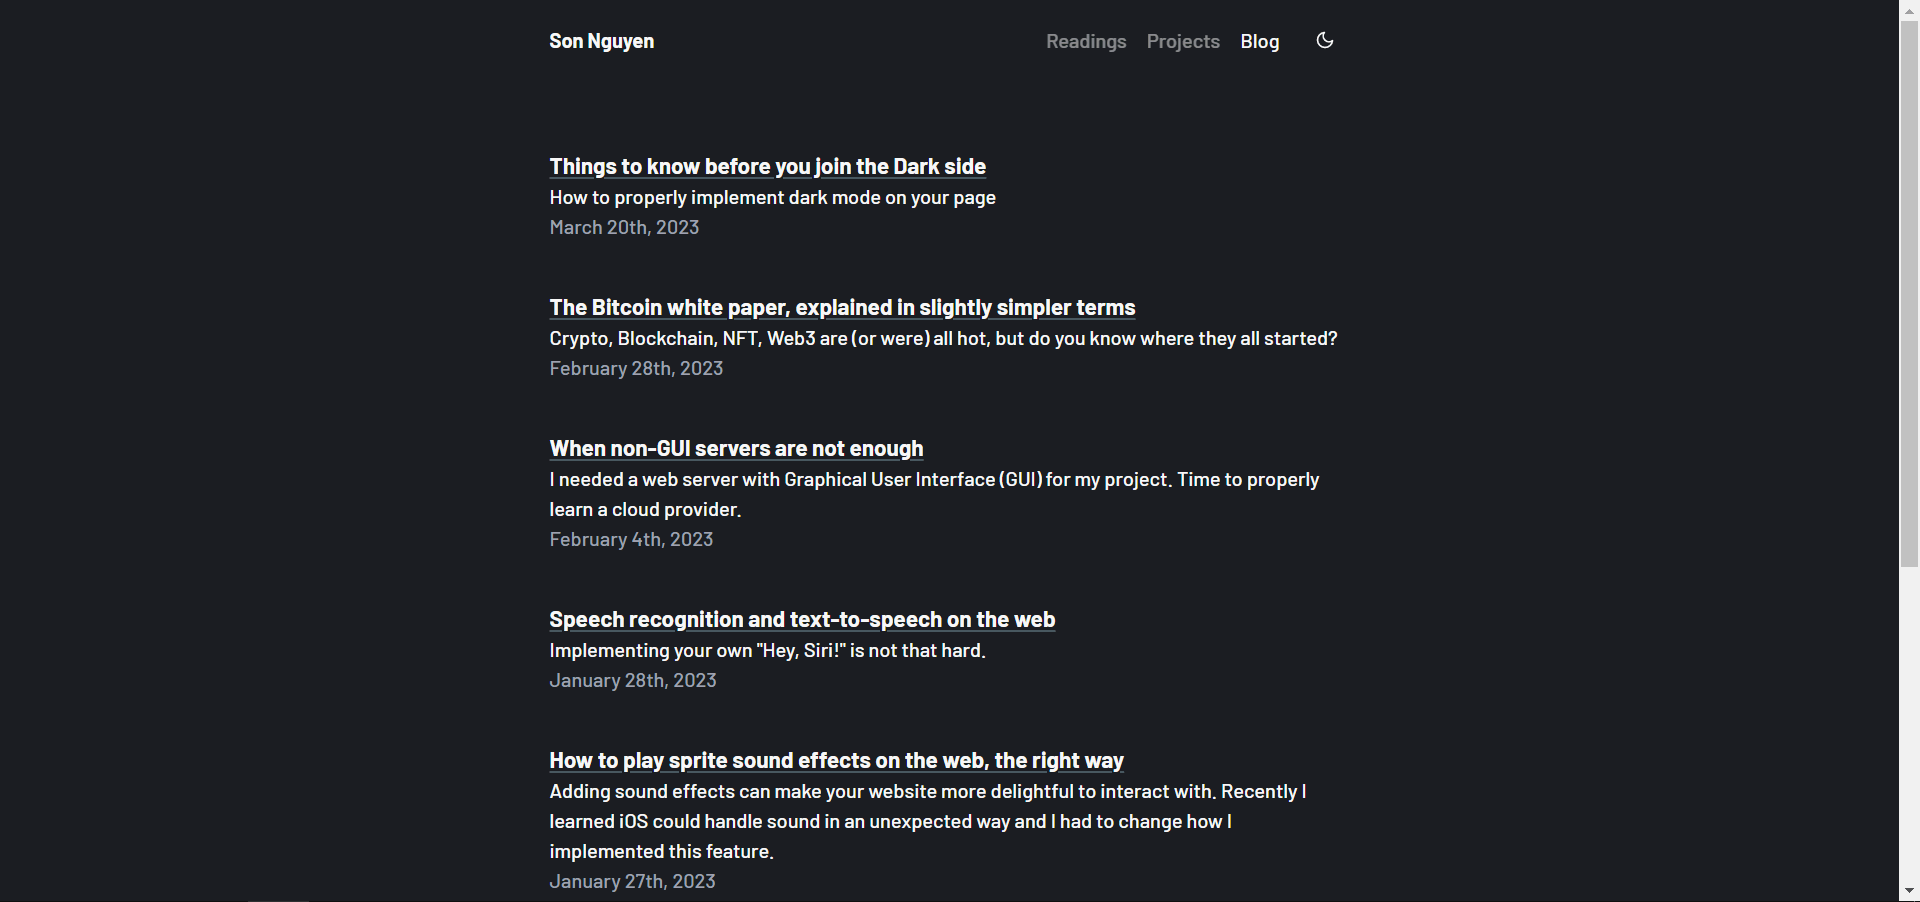
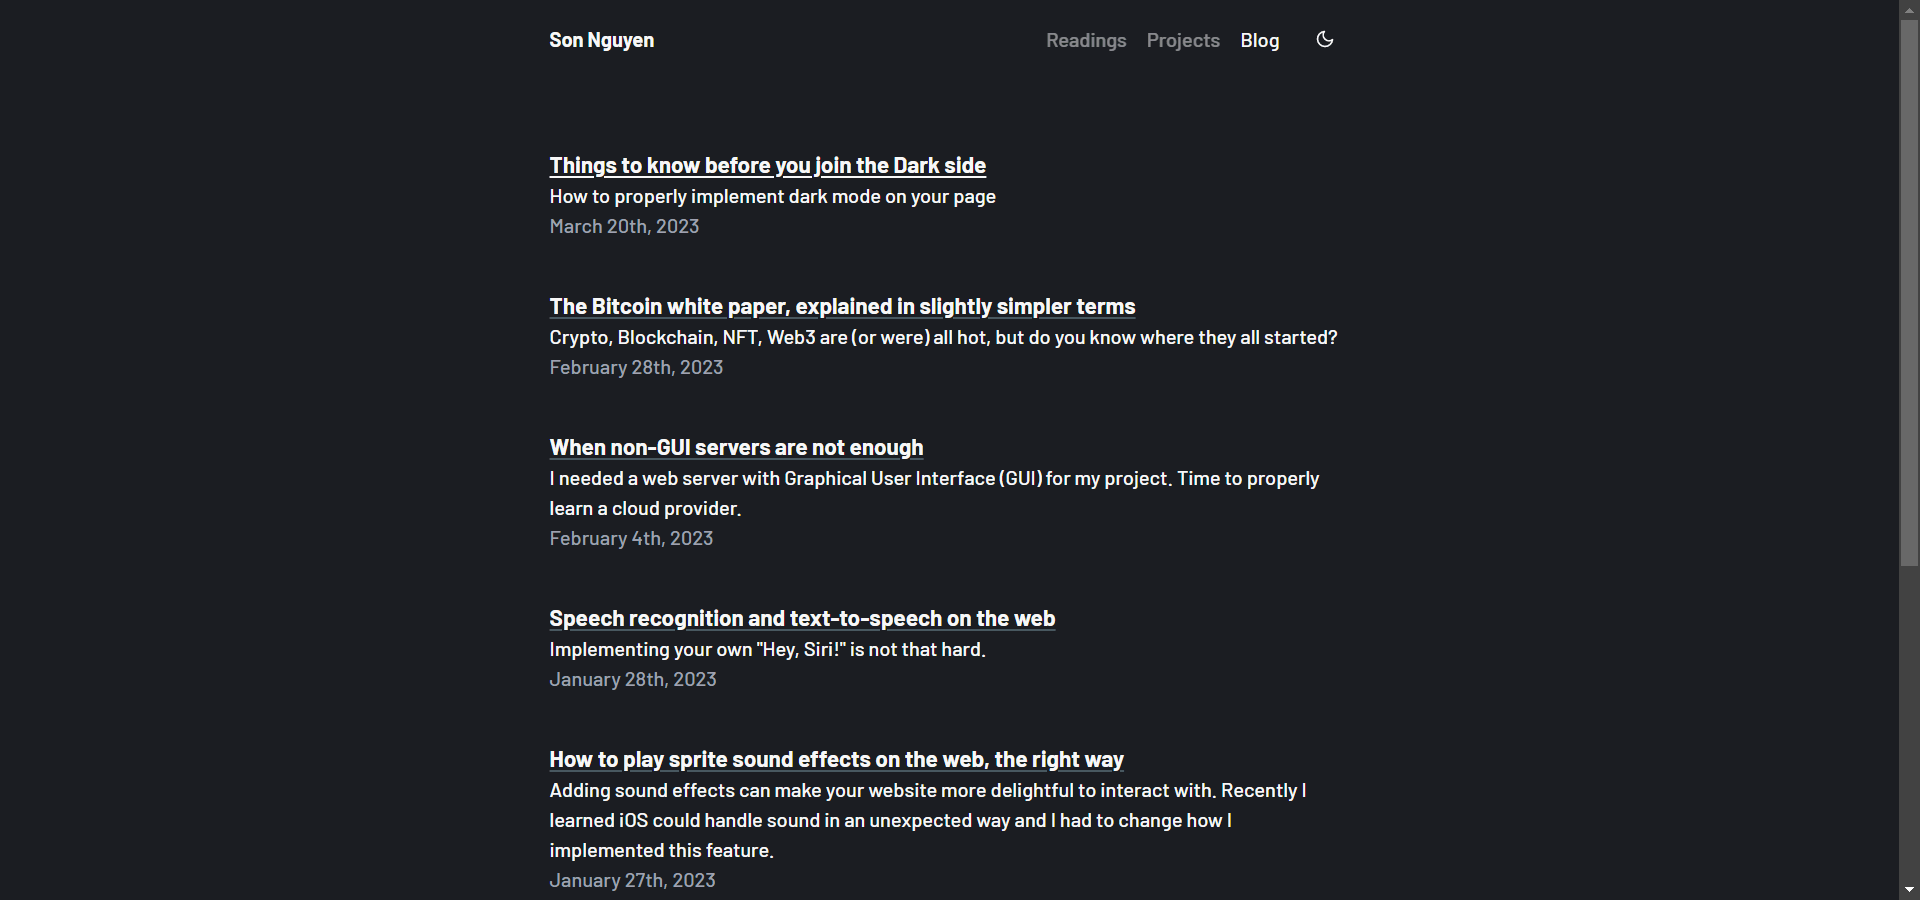
"But", I hear you say, "what if I want to manually switch between modes AND sync with OS preference?". My friends, worry not because I've got you covered! Besides a basic light mode and dark mode, I want a third mode (let's call it system mode) that syncs with the OS. This mode gives our site a light appearance if the OS is running in light mode and vice versa, you get the idea. As the matter of fact, you can try this exact feature on my website right now.
To do this, it's useful to separate our concept of mode/theme into two: the theme that we display to the user (light, dark, or system), call the displayTheme, and the underlying, actual theme (light or dark), called the actualTheme. When displayTheme is system, we can easily calculate the actualTheme by querying for the (prefers-color-scheme: dark) media.
type DisplayTheme = 'light' | 'dark' | 'system';
type ActualTheme = 'light' | 'dark';

const getActualTheme = (displayTheme: DisplayTheme): ActualTheme => {
  if (displayTheme !== 'system') {
    return displayTheme;
  }
  if (window.matchMedia('(prefers-color-scheme: dark)').matches) {
    return 'dark';
  }
  return 'light';
};
The OS preference can change based on the time of the day, or when users manually switch. To account for this, listen for the change event from window.matchMedia('(prefers-color-scheme: dark)') to set the correct theme.
const systemThemeQuery = window.matchMedia('(prefers-color-scheme: dark)');
const detectSystemThemeChange = (event: MediaQueryListEvent) => {
  if (displayTheme === 'system') {
    if (event.matches) {
      // Enable dark mode
    } else {
      // Enable light mode
    }
  }
};
systemThemeQuery.addEventListener('change', detectSystemThemeChange);

// Remember to clean it up later
systemThemeQuery.removeEventListener('change', detectSystemThemeChange);
Remembering user's preference on future visits
How do you persist a user's displayTheme on subsequent visits? By using localStorage, of course. Saving a user's preference is as simple as calling localStorage.setItem().
localStorage.setItem('theme', displayTheme);
Then, read the storage for any preference when your page loads.
let currentTheme = localStorage.getItem('theme');
if (currentTheme === 'dark') {
  document.documentElement.classList.add('dark');
} else if (currentTheme === 'light') {
  document.documentElement.classList.remove('dark');
} else if (window.matchMedia('(prefers-color-scheme: dark)').matches) {
  document.documentElement.classList.add('dark');
  localStorage.setItem('theme', 'system');
} else {
  document.documentElement.classList.remove('dark');
  localStorage.setItem('theme', 'system');
}
Important: If a user has selected dark as the preferred mode, he/she can briefly see a flash of white background before your page reads from localStorage and sets the correct theme. To save your users from this unpleasant experience, put the above code inside a page's <head> so dark mode is set (if necessary) before any content is displayed.
<html>
  <head>
    <script>
      let currentTheme = localStorage.getItem('theme');
      if (currentTheme === 'dark') {
        document.documentElement.classList.add('dark');
      } else if (currentTheme === 'light') {
        document.documentElement.classList.remove('dark');
      } else if (window.matchMedia('(prefers-color-scheme: dark)').matches) {
        document.documentElement.classList.add('dark');
        localStorage.setItem('theme', 'system');
      } else {
        document.documentElement.classList.remove('dark');
        localStorage.setItem('theme', 'system');
      }
    </script>
  </head>

  <body>
    ...
  </body>
</html>
If you are using Next.js, use dangerouslySetInnerHTML for the <script> tag, or else all quote characters will be escaped (see this issue).
<script
  dangerouslySetInnerHTML={{
    __html: `
          let currentTheme = localStorage.getItem('theme');
          if (currentTheme === 'dark') {
            document.documentElement.classList.add('dark');
          } else if (currentTheme === 'light') {
            document.documentElement.classList.remove('dark');
          } else if (window.matchMedia('(prefers-color-scheme: dark)').matches) {
            document.documentElement.classList.add('dark');
            localStorage.setItem('theme', 'system');
          } else {
            document.documentElement.classList.remove('dark');
            localStorage.setItem('theme', 'system');
          }
        `,
  }}
/>
Setting the site's theme color
This theme-color meta tag does exactly what it says: it sets the theme color for your site. This information is used by Safari and other browsers to make other elements of the UI consistent with the main page.
Depending on what actualTheme is active, you will want to set the appropriate value for this tag.
<!-- Light mode -->
<meta name="theme-color" content="#f7f7f7" />

<!-- Dark mode -->
<meta name="theme-color" content="#1b1d22" />
Setting other UI elements' colors
Some UI elements, such as the scrollbar on Windows, will render incorrectly if you don't set the correct color scheme. Since I'm a long-time Mac user, I wasn't aware of this problem until I read this blog post by Okiki.
Let's correct this by adding the following CSS (if you are using Tailwind).
html {
  color-scheme: light;
}

html.dark {
  color-scheme: dark;
}

@media (prefers-color-scheme: dark) {
  html:not([data-theme]) {
    color-scheme: dark;
  }
}
Using a different favicon for each mode
This is not always needed, but if you want to add a little contrast to your site's favicon in different modes, you can. Simply add media="(prefers-color-scheme: light/dark)" to your <link> tag and your browser will figure out the rest. Note that this feature works fine on Chrome and Firefox, but not on Safari.
<!-- Favicon for light mode -->
<link media="(prefers-color-scheme: light)" rel="shortcut icon" type="image/x-icon" href="/favicon-light/favicon.ico" />

<!-- Favicon for dark mode -->
<link media="(prefers-color-scheme: dark)" rel="shortcut icon" type="image/x-icon" href="/favicon-dark/favicon.ico" />
Bonus tip: Using different images on GitHub Markdown based on the current mode
This is not terribly related to our topic, but I find it interesting nonetheless so I figure I would share it with you guys as a bonus!
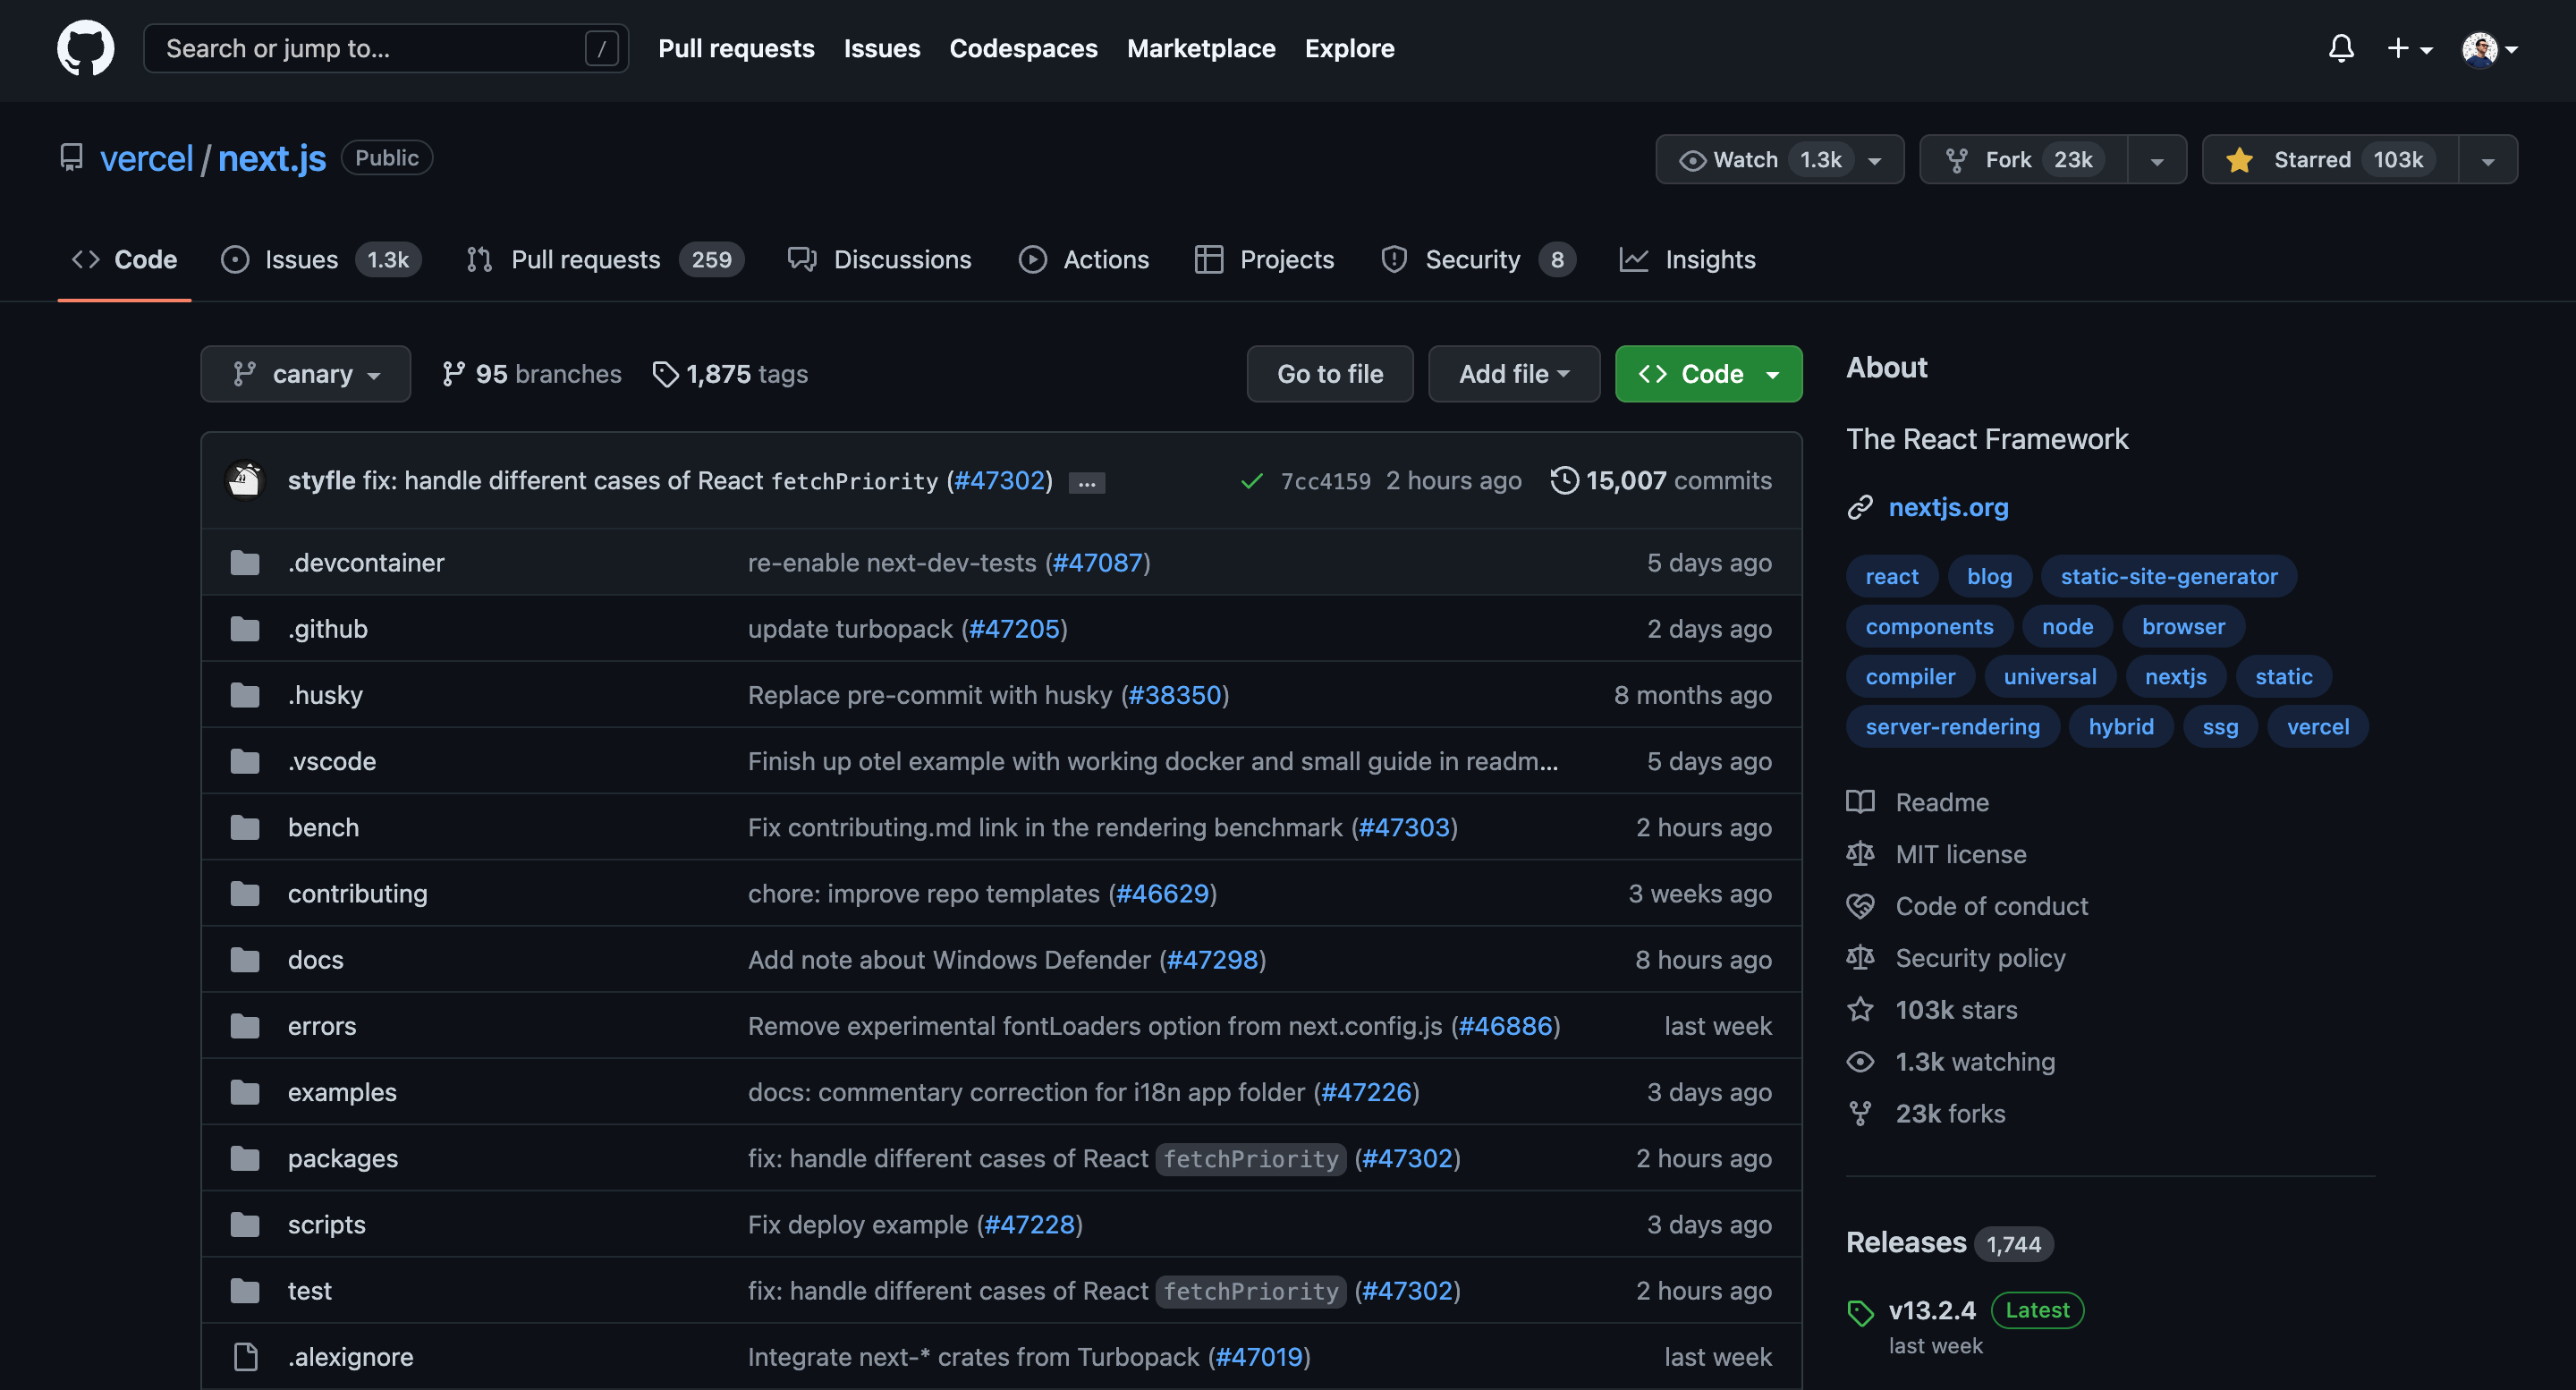
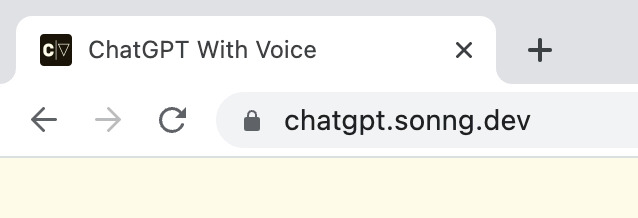
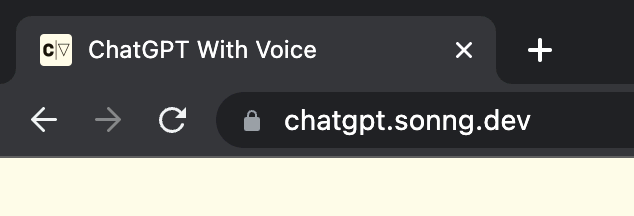
Did you know in GitHub Markdown, you can render different images based on what mode you are in? For example, in my ChatGPT With Voice project, I can render the light version of the logo when GitHub is in light mode, and vice versa.
To do this, just append #gh-light-mode-only or #gh-dark-mode-only to your image's src.
<!-- Image for light mode -->
<img src="https://user-[...].png#gh-light-mode-only" width="400px">

<!-- Image for dark mode -->
<img src="https://user-[...].png#gh-dark-mode-only" width="400px">
Conclusion
These are all the tips I want to share with you about dark mode. Hopefully, by following my suggestions, all you will implement from now on are rock-solid, pretty websites that are easy on the eyes. Stay tuned for more helpful posts in the future, cheers! 👋